
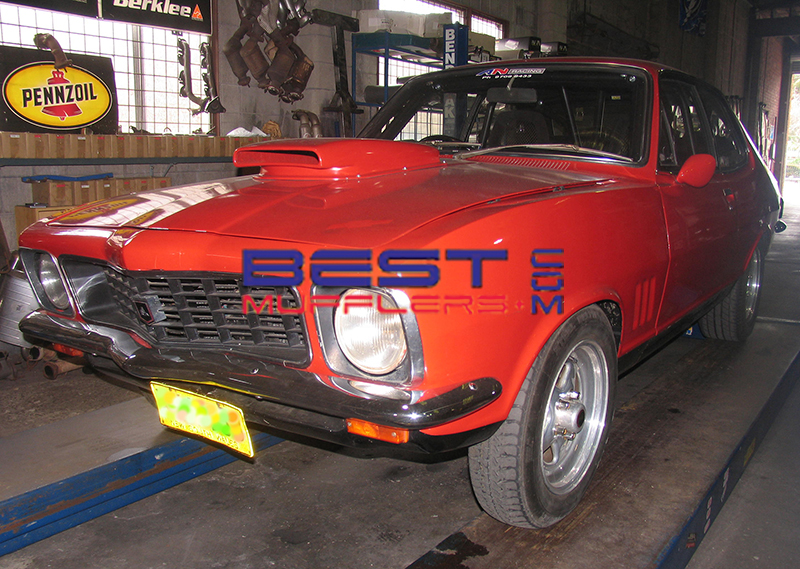
Custom Exhaust Headers & Exhaust Systems Project: Holden Torana |
|
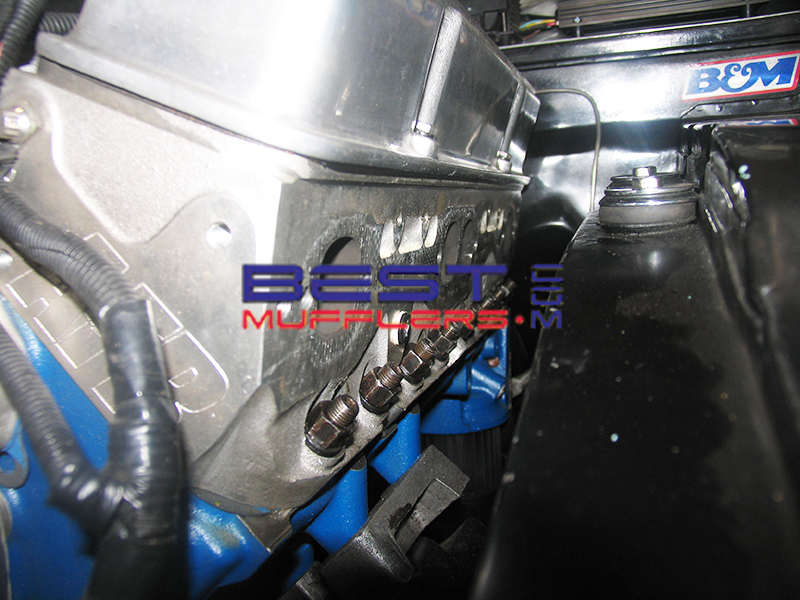
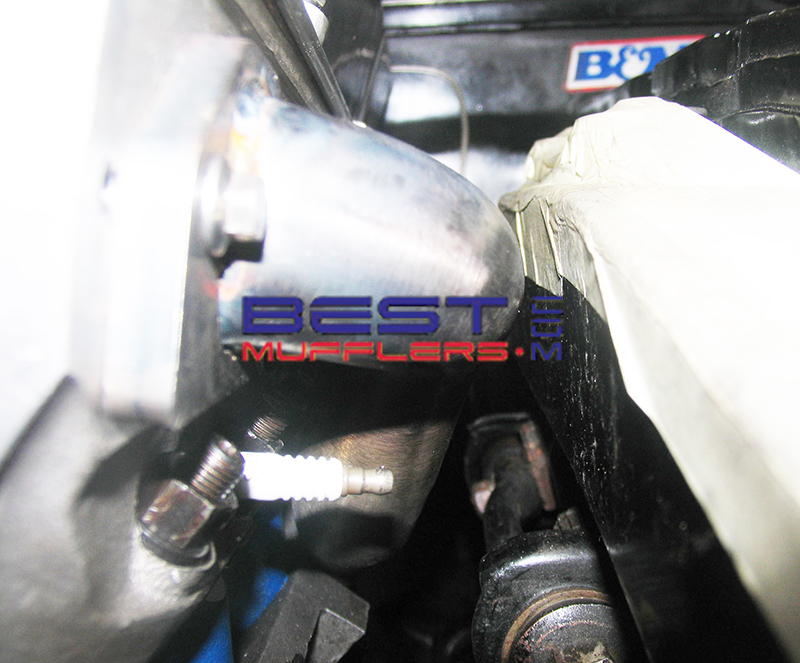
| Image 2 Limited room for pipes on the left [passenger side] |
| Image 3 Clearly more room for pipes on the right [drivers side] than the passenger side |
| Image 4 I always start the hard side first |
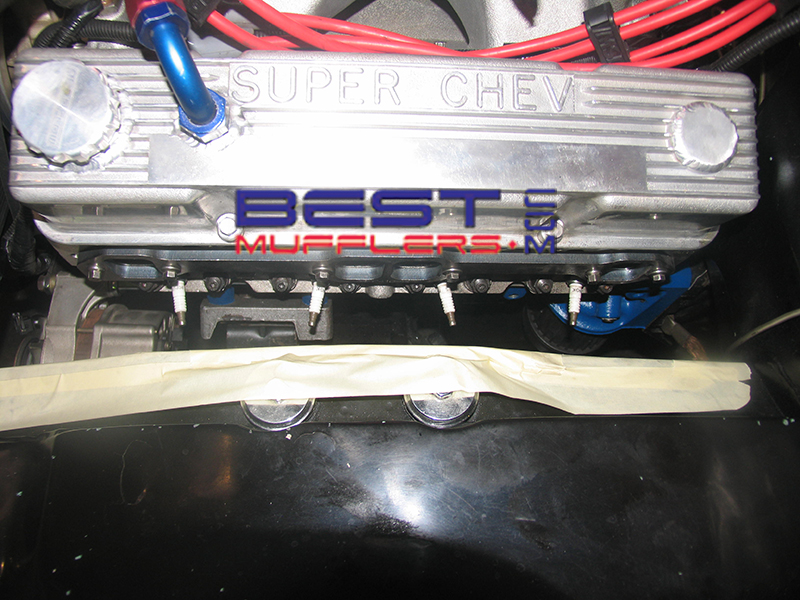
Image 5 |
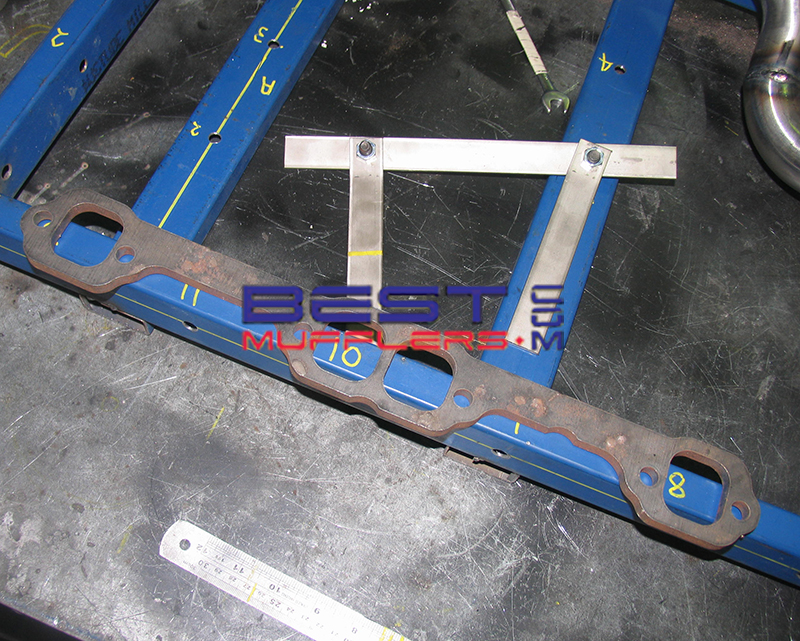
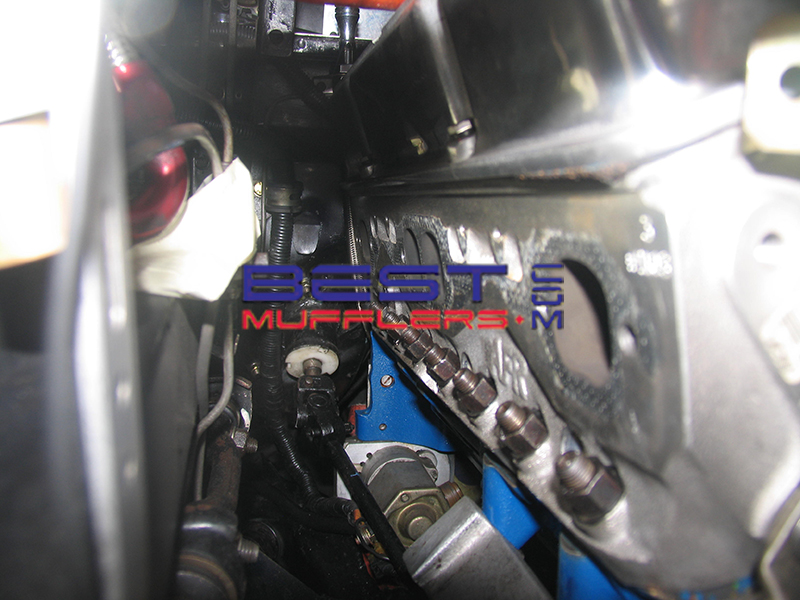
| Image 6 We also need to keep clear of the lower control arms, while allowing room for extra shims to be fitted for wheel alignment if ever required With an old flange plate and a few pieces of flat bar.... |
| Image 7 ..the header plate is bolted to the head then the guide is tack welded into the flange plate in the correct postion. |
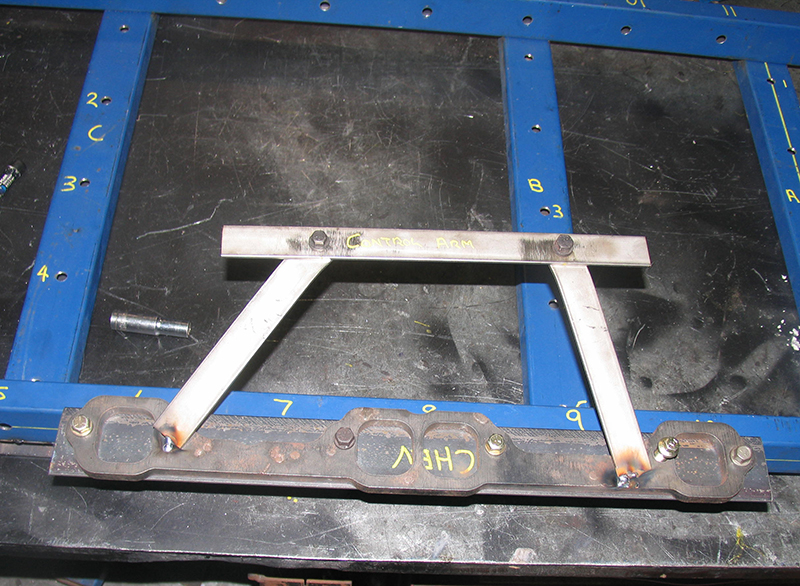
Image 8 |
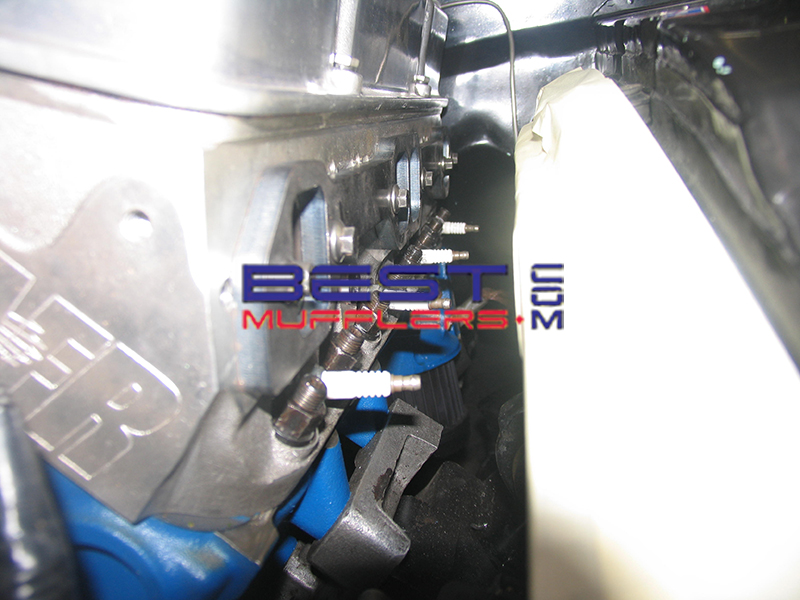
| Image 9 The 1 3/4" section of number 1 pipe finally in position |
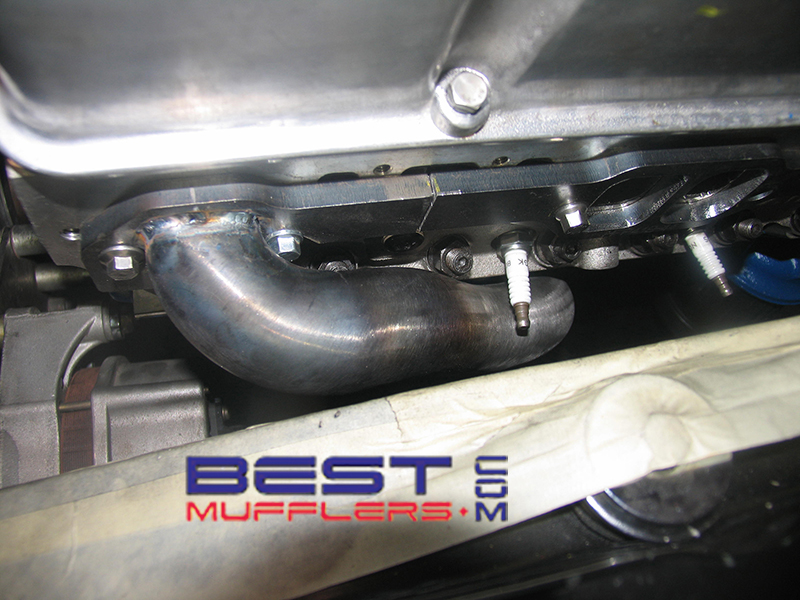
| Image 10 This pipe took a few tries to get correct, ended up using a 1 3/4" donut bend. The header flange has been cut and the inner hole on the header flange plate has been slotted. Installation requires the header bolt to be placed into the head by a few threads then the header flange slips over the bolt then tightened |
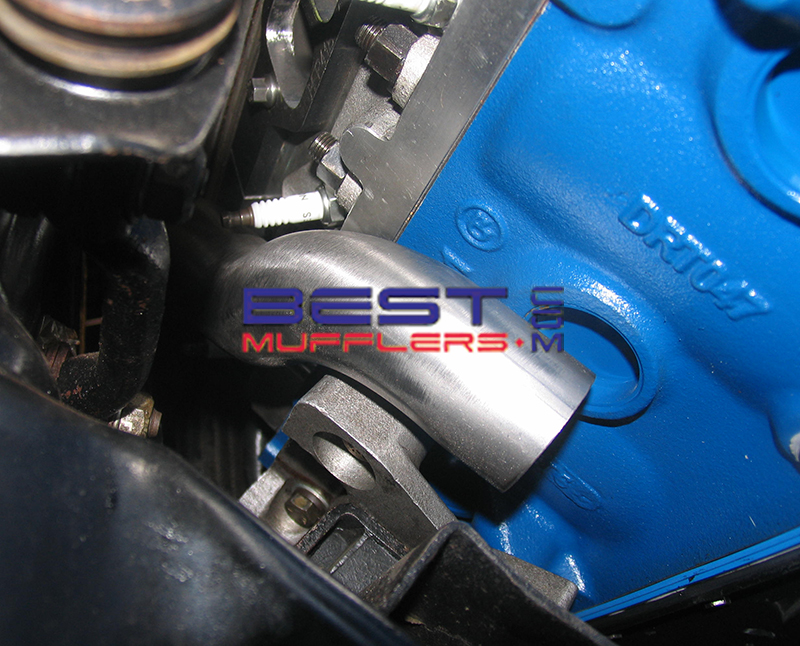
Image 11 Each primary pipe has been filled with water for exact length. |
| Image 12 From this point the pipe now steps up in size to 1 7/8" |
| Image 13 To continue i use 4 pieces of pipe 51mm od [1 7/8" id] each one cut to 60mm long then tacked welded together... |
| Image 14 ..then clamped onto our competed 1st pipe which is now positioned perfectly and fully welded to support the extra weight |
| Image 15 After quite a few hours and a few mistakes the pipes are coming together nicely. All these pipes at the stage of the build are all supported by the completed first pipe. |
| Image 16 |
| Image 17 Second pipe from the the left can be completed on the jig, its clamped temporarily into position using a hose clamp |
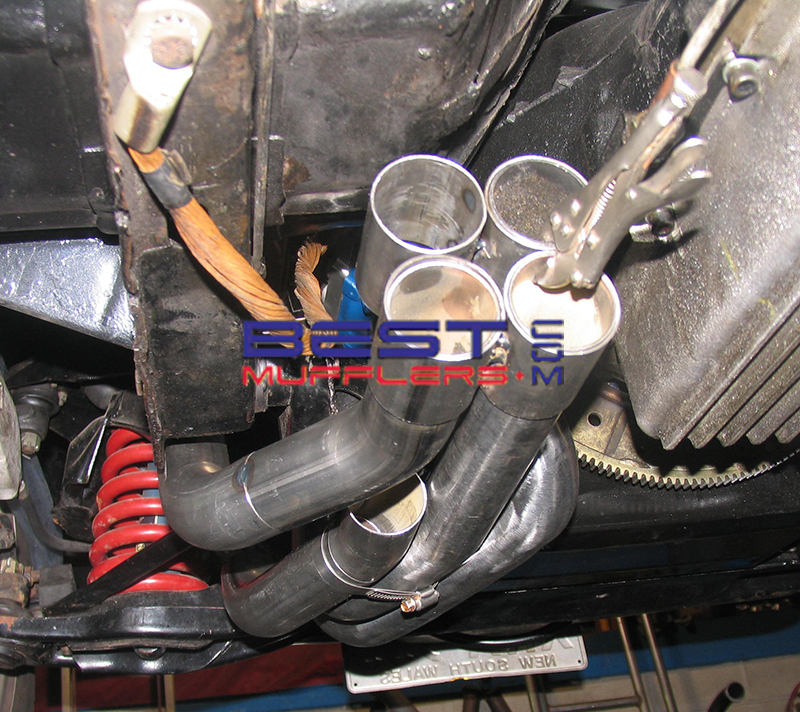
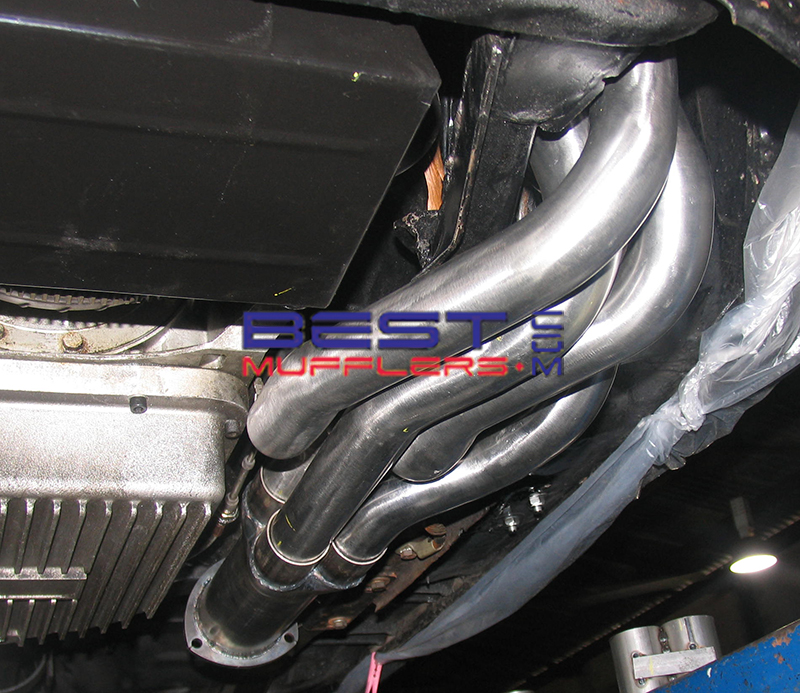
| Image 18 Checking from the side the headers are sitting almost as high as the transmission oil pan. All clamps tightened and checked then everything is removed very gently from the car. |
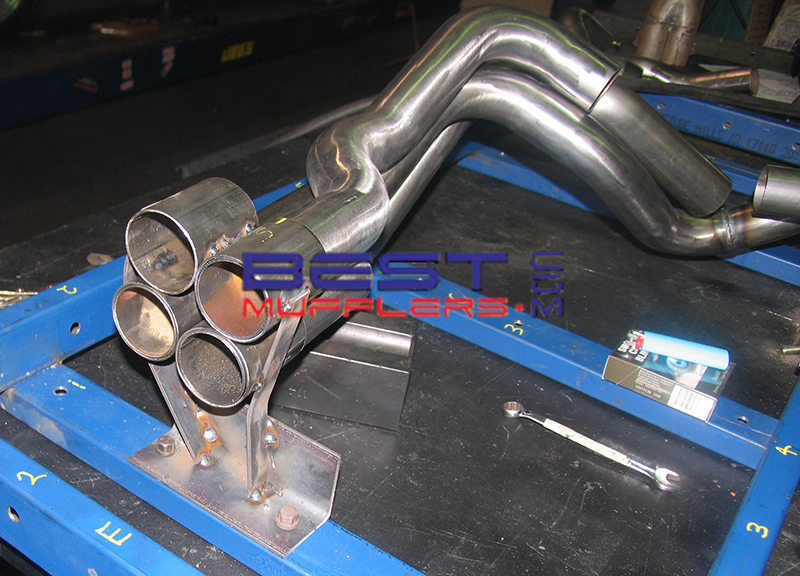
Image 19 |
| Image 20 Second pipe complete with number 3 & 4 pipes close to being completed |

| Image 21 The welding sequence is very important, 2nd pipe last weld is at the port, 3rd pipe at the port, 4th pipe last weld is at the beginning the stepped section. Before the final weld the pipes are firmly clamped into position. |
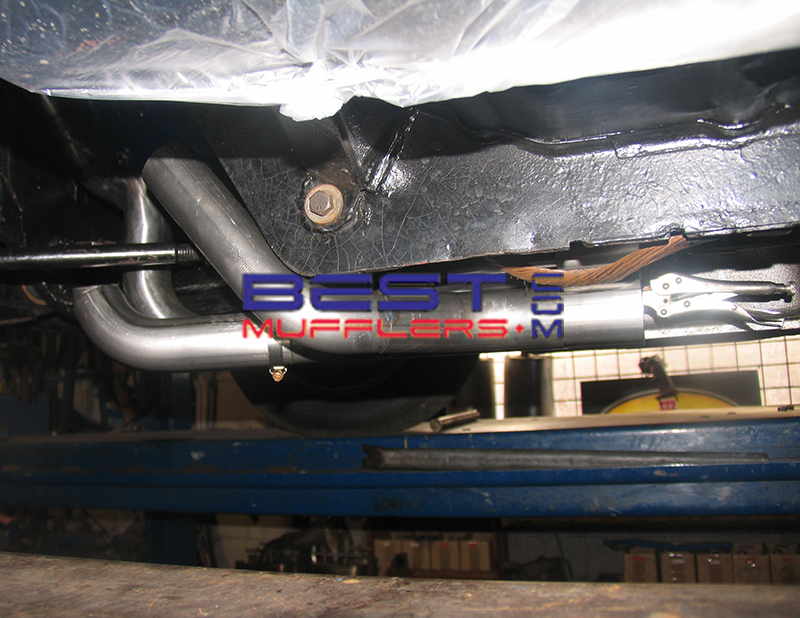
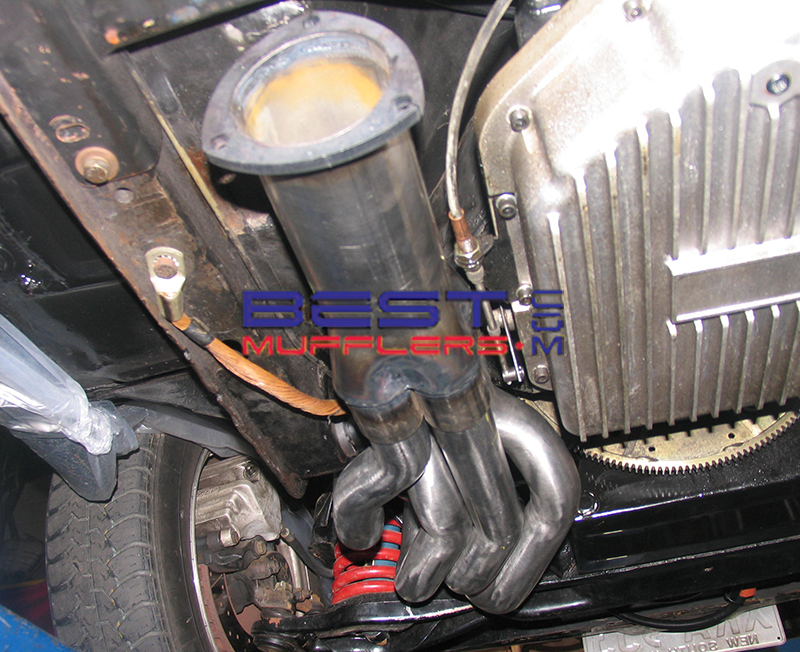
| Image 22 The completed left side header is refitted to the car to use a guide when making the drivers side. |
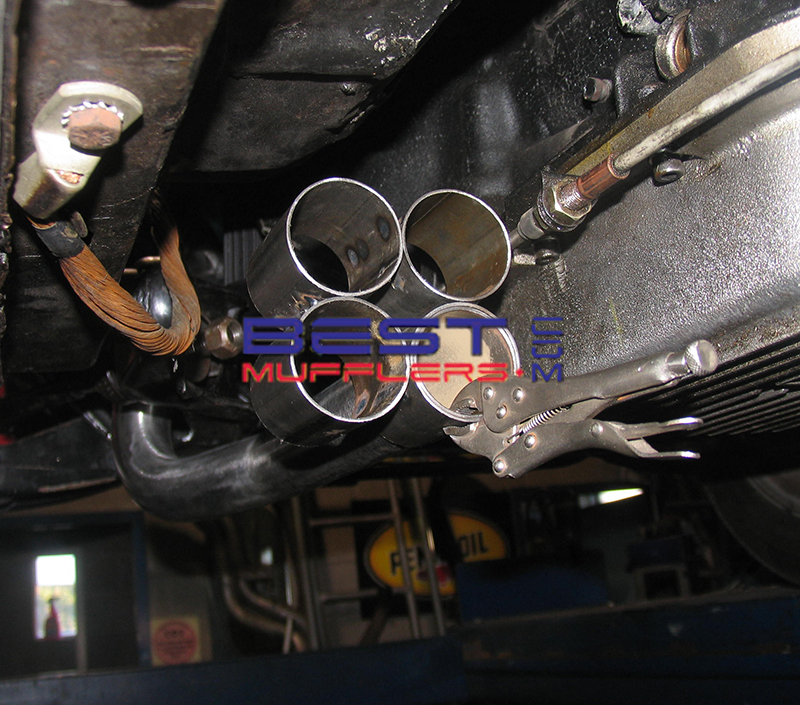
| Image 23 Both left & right collectors will be removable, they need to be slip on so the pipes can be removed from the car. Slip on collectors and the pipes leading into them need have exact tollerances so they dont leak and still be removable |
| Image 24 The right side is much easier than the left, |

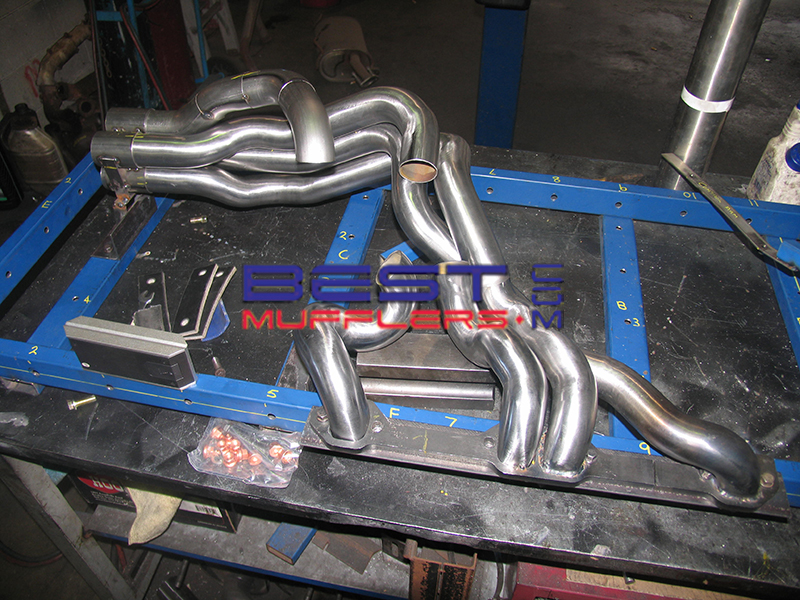
| Image 25 With the first & second pipe completed there is still plenty of room for the last two pipes |
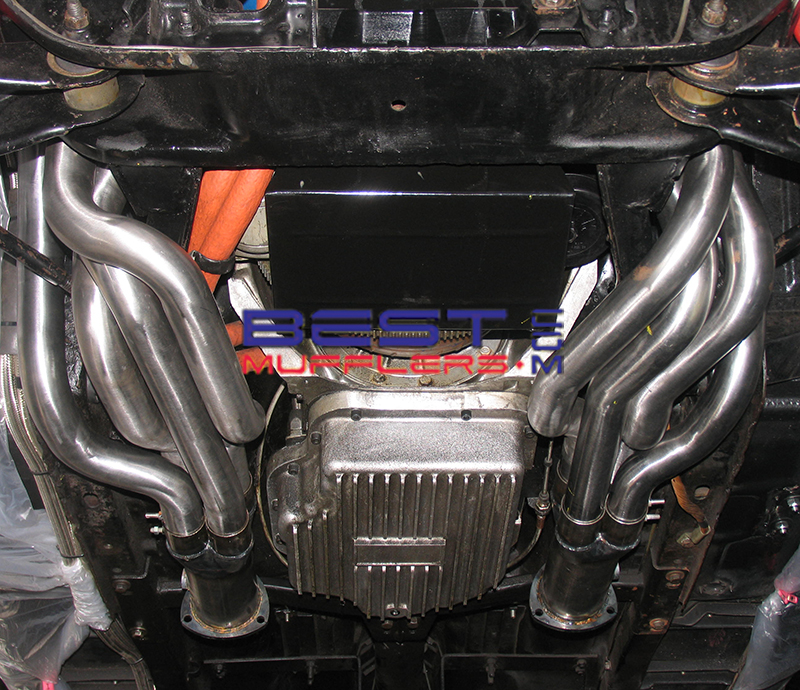
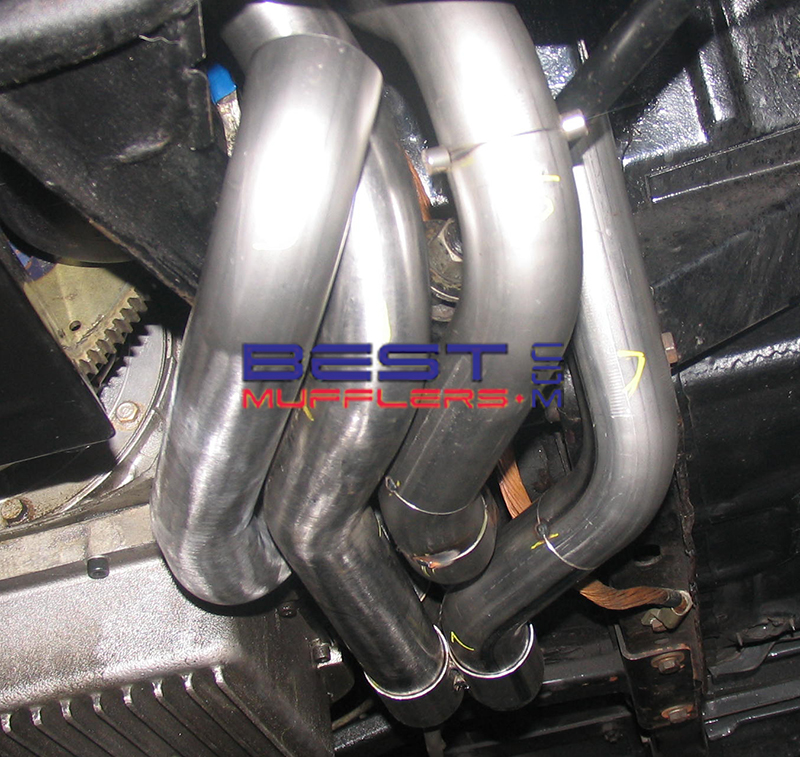
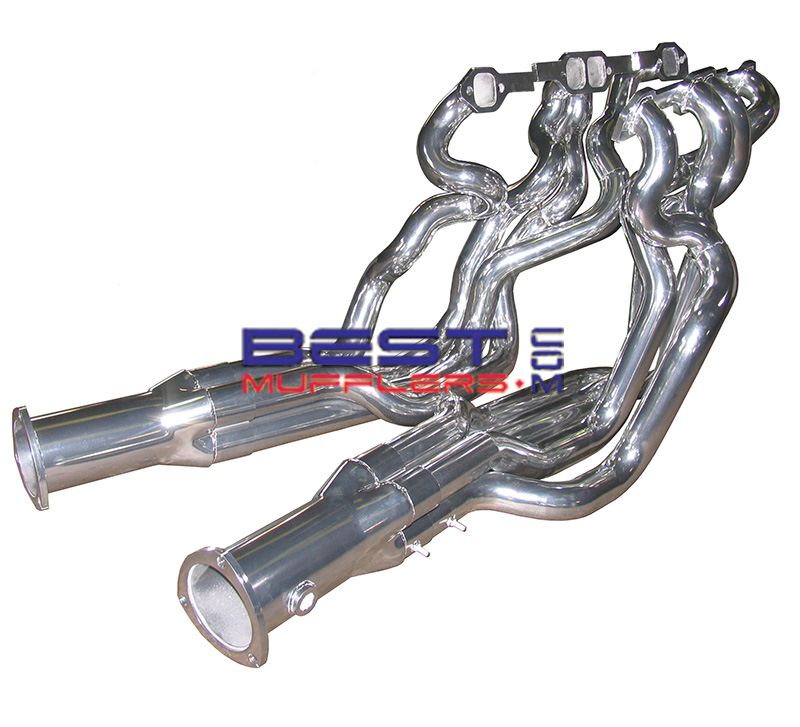
| Image 26 After many hours the completed extractors are finally ready for ceramic coating. |
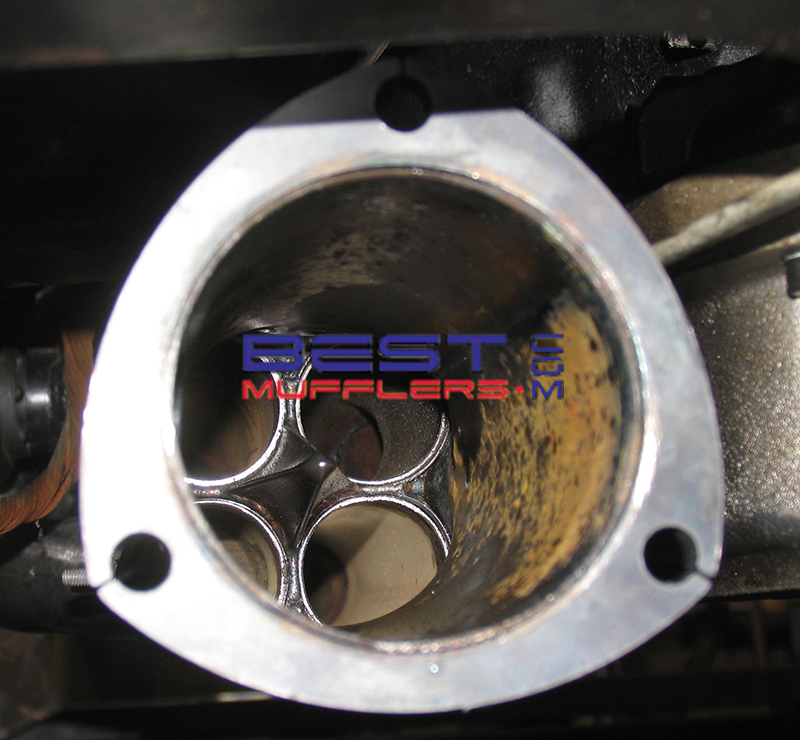
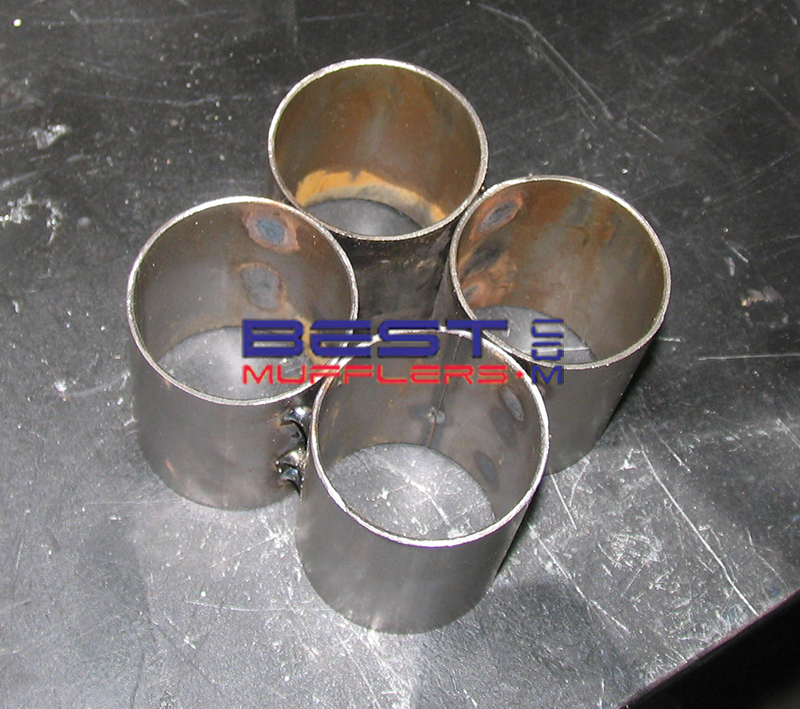
| Image 27 Both collectors have a merge spike, the merge spike fills the empty void in centre of the collector |
| Image 28 Over the years i've tried a few differant ceramic coaters both locally and interstate, but Competition Coatings at Guilford here in Syney does the best job by far. |
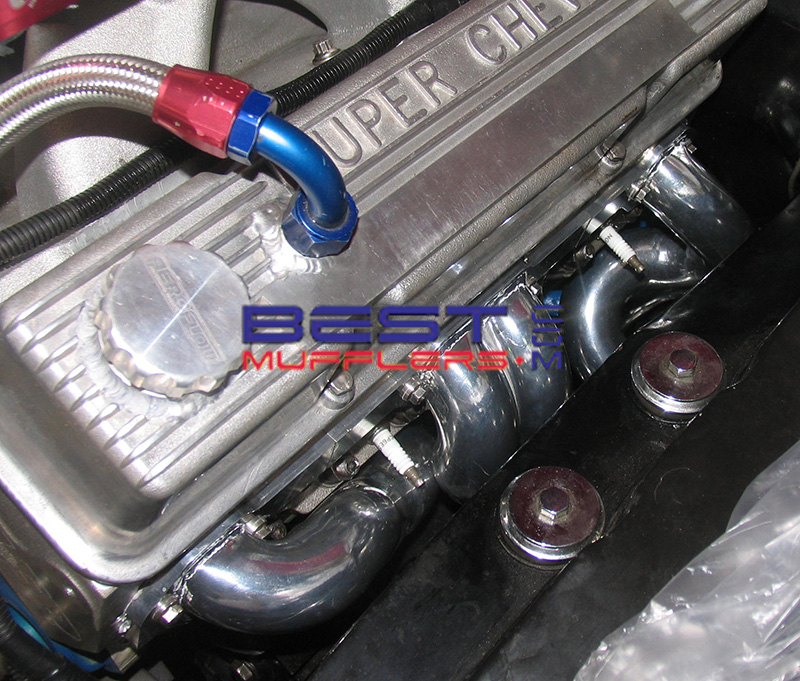
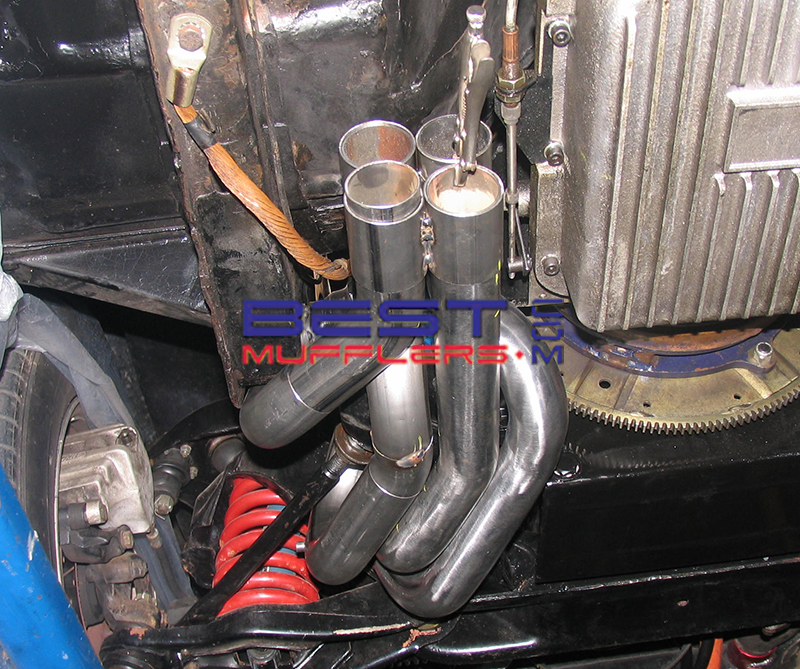
| Image 29 Headers are fitted with no gaskets, i always use Abro exhaust Sealant [Grey], the sealant is applied to the header face an let sit for around 1hour before installation |
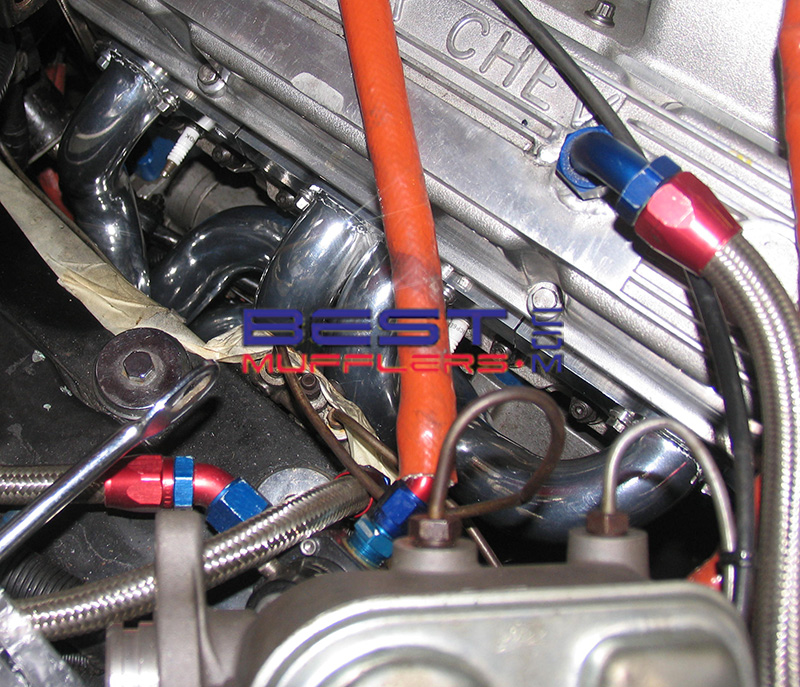
| Image 30 Leaving the headers to sit before installation, ensures a perfect seal and prevents the exhaust sealant going everywhere. |
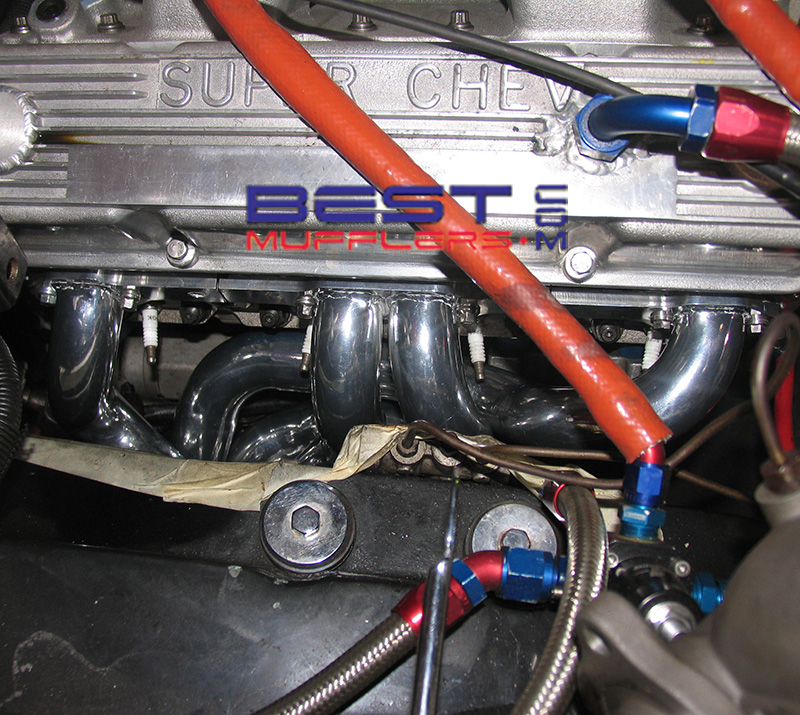
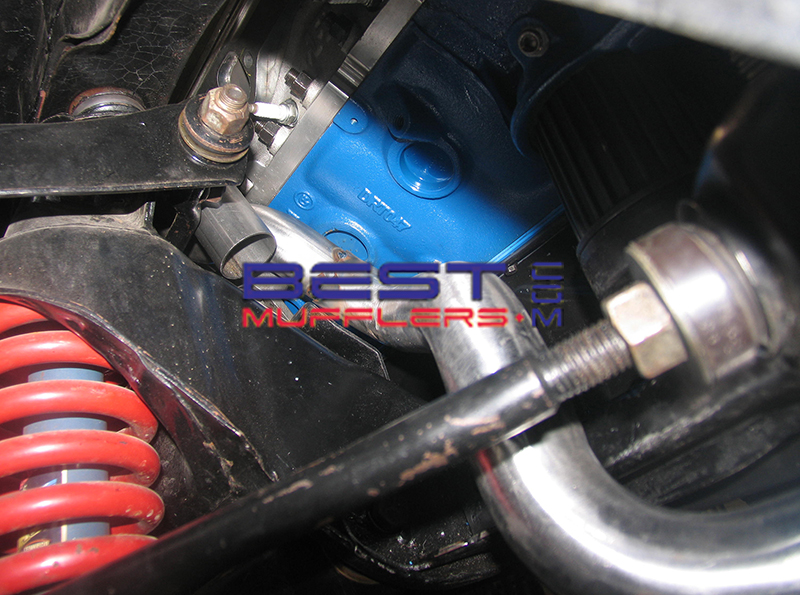
| Image 31 Time to remove the masking tape and refit the brake booster |
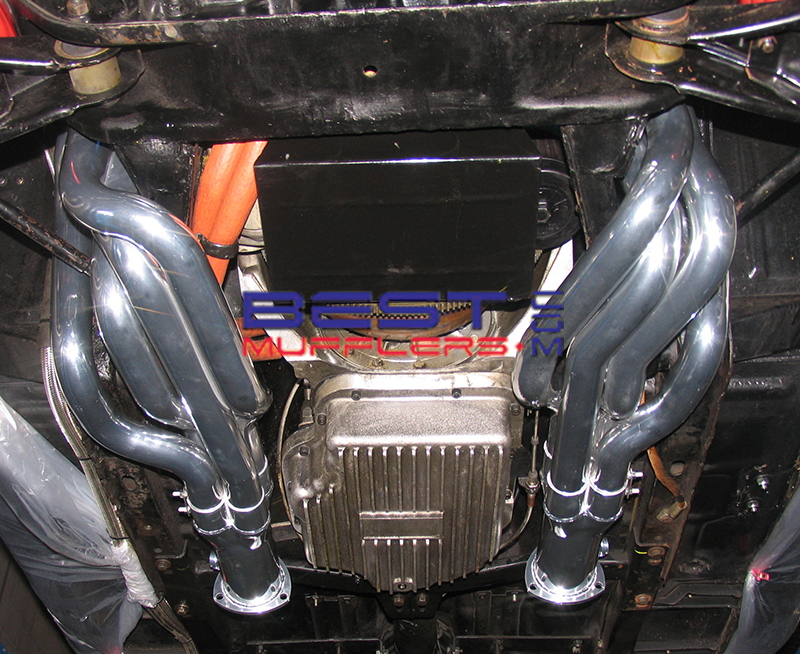
| Image 32 If anyone has seen a better set of pipes on a LJ or LC Torana i would love to meet the person who built them so i can shake there hand. |
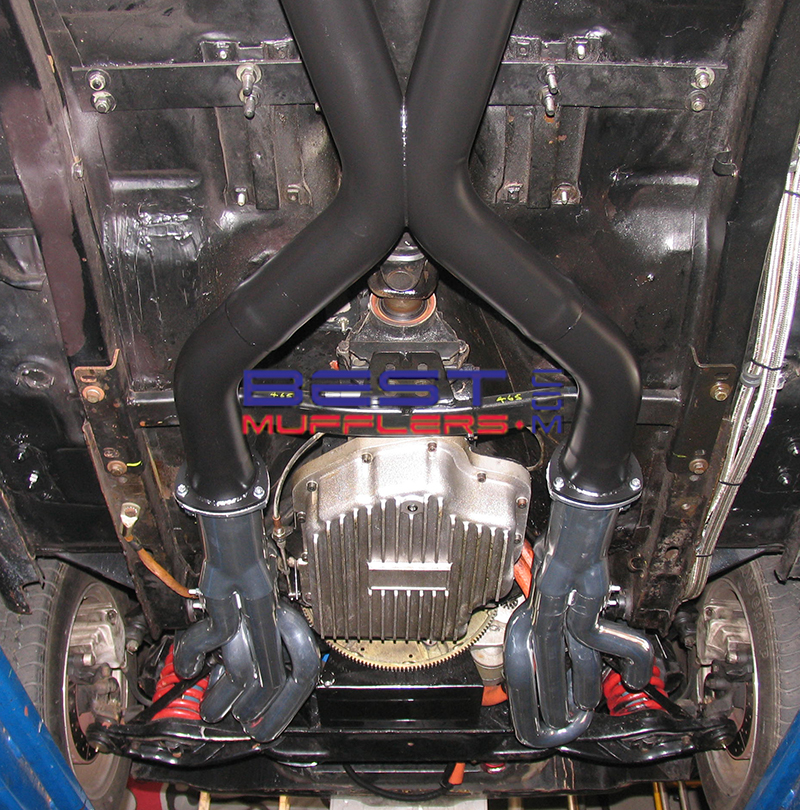
Image 33 All parts used to build this exhaust system are available in our Online Exhaust Shop.
|

| Copyright © 2018 Best Mufflers. All Rights Reserved. The information on this web site is for Best Mufflers customers only. Information cannot be reproduced or used for commercial purposes without written permission. |
 |